Classic Valentine Manicure
Red French + Tiny Heart: The Classic Valentine Manicure You’ll Wear All Winter
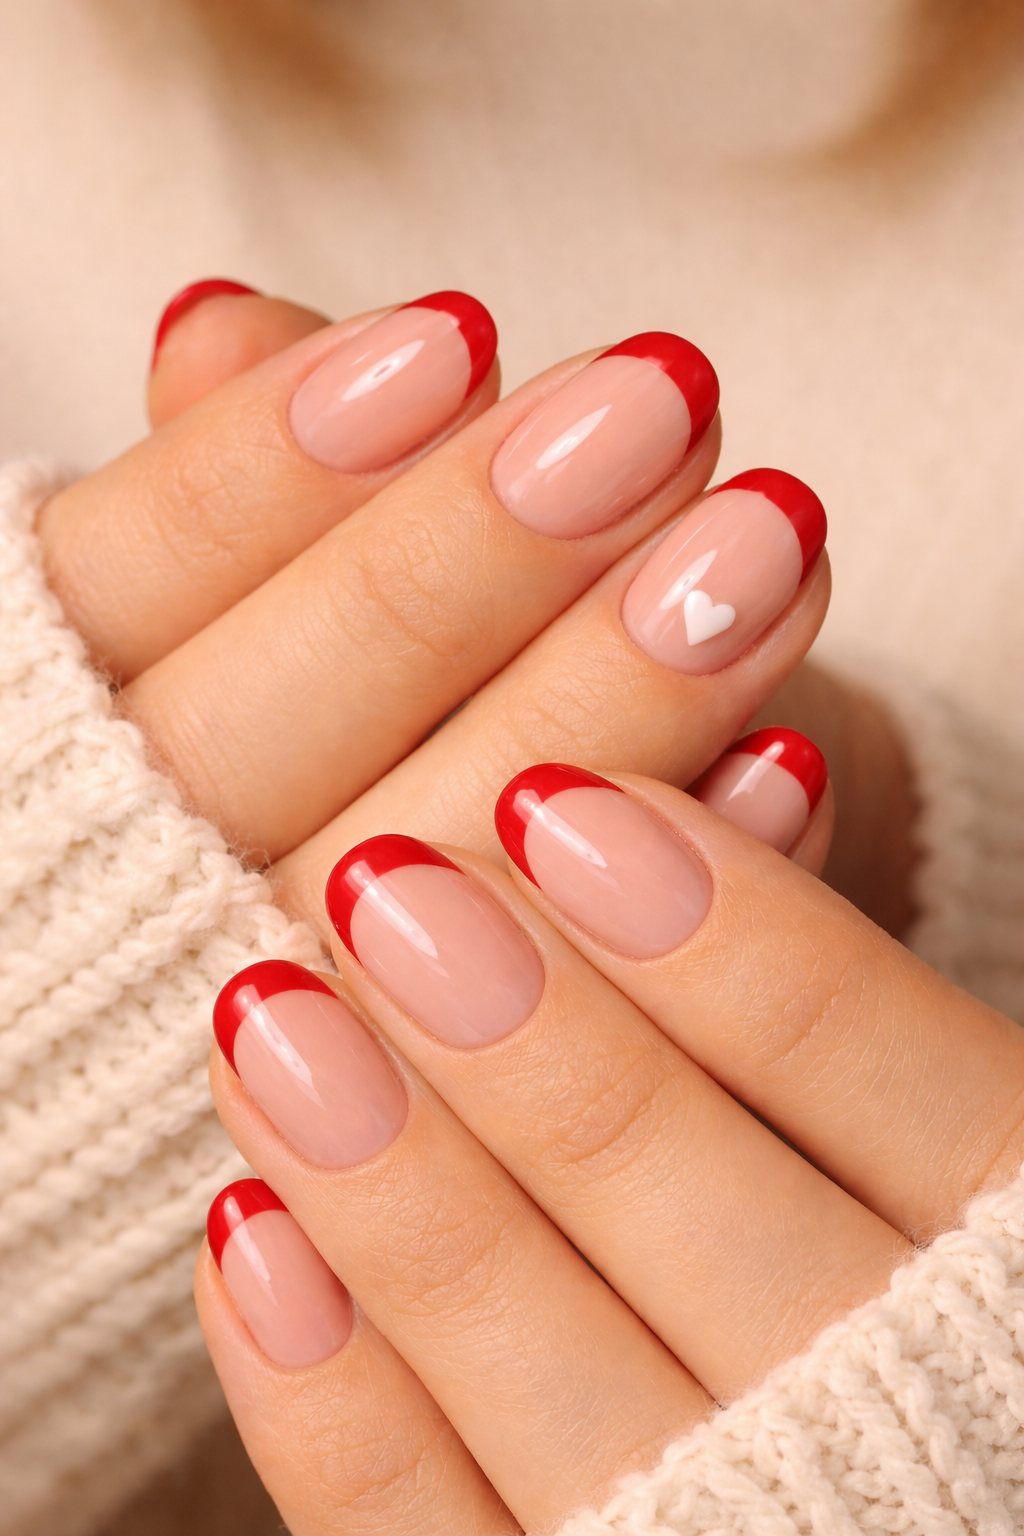
No lamp, no powder—just a sheer base, a crisp red tip, and one tiny heart. It’s timeless, clean, and quietly romantic (the kind of Valentine detail that still feels chic in March).
The design, in one sentence
A sheer nude base with bold red French tips and a single tiny heart accent—classic structure with a soft Valentine nod.
How to make regular polish look salon-level
- Thin coats + real dry time. Glossy doesn’t mean thick.
- Crisp edges. A cleanup brush is the quiet luxury tool.
- Cap the free edge. It’s the difference between 2 days and 7.
Step-by-step: Red French + tiny heart
-
Prep: Shape nails (short squoval is the cleanest), push cuticles back, and lightly buff. Wipe clean so polish adheres evenly.
-
Sheer base: Apply 1–2 thin coats of a sheer nude or soft pink base. Let each coat dry until it’s set (not tacky).
-
Paint the smile line: With red polish, draw the curved “smile” first—then fill the tip. This creates a cleaner, more consistent French.
-
Perfect the edges: Use a small cleanup brush dipped in remover to sharpen the smile line and sidewalls. This is the step people notice.
-
Tiny heart accent: Add one micro heart near the cuticle on a single nail (ring finger is the most classic). Keep it minimal.
-
Top coat: Seal with a glossy top coat and cap the free edge. Let it dry fully before hot water, dishes, or jeans pockets.
Shop the look (timeless, high-quality essentials)


FAQ: Regular polish Valentine nails
How do I stop smudges with regular polish?
What if my French tips aren’t perfectly symmetrical?
How can I make this design more minimal?
How do I make it last longer?
Disclosure: This post may contain affiliate links. As an Amazon Associate, My Proper House may earn from qualifying purchases.